A birthday cake

Faith had a small family party this year and I didnt want to buy a cake, I wanted to make one.

Then I saw this post by The Cupcake Lady aka Angel on the new Pillsbury range and fell in love with the Funfetti cake mix.

Unfortunately I couldn’t find the Funfetti one when I went to the shops but I did improvise 😉

Ingredients

IMG_7830

  • 1 x box cake mix
  • ½ cup rainbow vermicelli (if you didnt get the Funfetti box mix)
  • Extra ingredients as per the box mix
  • Icing sugar, butter and food colouring (as needed)
  • Fondant icing (I bought lilac and pink ready made Nicoletta fondant from Yuppiechef)

Method

  • Mix cake as directed.
  • Add the vermicelli.

IMG_7832

  • Fill two 20cm cake tins with the batter and bake for 30 minutes.

IMG_7836

  • Once cooled, remove from baking tins and allow to cool down completely.
  • Once cold place one of the cakes upside down on your board or cake stand.
  • Mix your butter icing and coat a layer of icing on the flat side of the cake.
  • Carefully place the second cake, flat side down on top of the icing covered base cake.
  • Carefully spread the rest of the icing over the top and sides of the layered cake.

IMG_7847

  • (At this point I should have smoothed the butter icing a bit in preparation for the fondant but I forgot until it was too late).
  • Roll out your fondant and carefully place over the top of your cake, make sure the butter icing is still a bit wet, so that it sticks nicely (thanks for the tip Angel).
  • For a cake this size I would recommend two packs of Nicoletta fondant, I rolled my lilac one quite thin and it wasn’t quite enough to cover the whole cake, it could probably have been a bit thicker too.

IMG_7849

  • Once you have your fondant in place choose an alternative colour fondant and roll it out, cut shapes or mould pretty decorations.  It was quite easy to use and not scary at all.

cake1


  • Once you have your shapes or decorations use a little bit of warm water to stick them to the cake.

cake2


And there you have it 🙂

Nutella Brownies aka Little Bites Of Heaven

I was browsing around on Pinterest and came across a recipe for Nutella brownies, I couldnt resist and decided to make them tonight…

Ingredients

  • 1 cup Nutella
  • 2 eggs
  • 10 tablespoons flour

Method

  • Set oven to 180ºC
  • Mix all ingredients in a bowl
  • Place mini cupcake cups on a baking sheet
  • Fill cups with half a teaspoon of batter each
  • Do not over fill, the brownies do rise up
  • Bake for ±10 minutes
Really bad photo, REALLY good brownie!


Makes about 50 mini bites, next time I will try them in bigger cups

Butter custard biscuits

Straight to my childhood.  I used to make custard biscuits all the time as a kid.  Yummy!

acidicice posted about her first try with custard biscuits, she received the recipe from shirras1.

I just had to give it a try.

Now the recipe is huge!  You could easily make 50 to 100 biscuits depending how small you make them.  I just didnt have it in me to make such a huge batch so I did a bit of a calculation (probably not such a smart idea after my last post!) and cut the recipe to about a 3rd of the original.  I figure the biggest thing here is to keep the ratio of ingredients the same…

Original recipe:

  • 675g butter
  • 675g flour
  • 225g icing sugar
  • 225g custard powder

My recipe:

  • 250g butter (about 1 and ¾ cups)
  • 1 and ¾ cups flour
  • ½ cup icing sugar
  • ½ cup custard powder
  • I also added a splash of vanilla extract

Method:

Preheat oven to 180°C and spray baking sheets.

Cream butter, sugar and vanilla extract.

Add flour and custard powder.

Mix until combined.

Roll into small balls and place on baking sheet (the biscuits do spread in the oven so leave a bit of space between them).

Dip a fork into custard powder or flour and press down on each ball, the flour helps the fork to not stick to the dough.

before they go into the oven

Bake for 8-10 min or until golden brown.

Yummy

Lesson learned!

Always always double check your measurements!

On Friday night I decided to make the Foodiction chocolate fondants for Shabbos dinner.

I found some parev (non dairy) slabs of 70% Lindt.  100g bars.

You need 125g for the recipe.

I used just over 175g.

Why?

Because I didnt read the recipe again and check how much chocolate I actually needed.  I relied on my memory.

Silly!

The batter was very very thick and the resulting fondants were quite heavy.

Still yummy but no where near as nice as the recipe actually should be.

So.  Read your recipe and double check your measurements!!

#CookAlong with @Foodiction and @LifeologySA

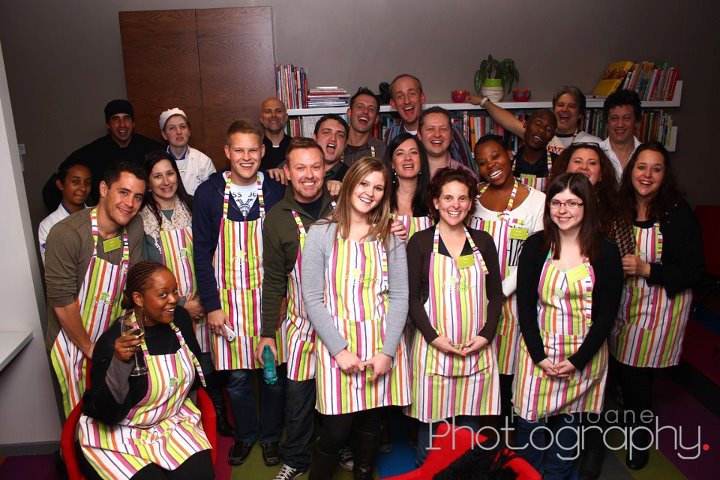
Last night Wendi and I headed out to Foodiction in Bryanston to attend their very first #CookAlong.

We were kindly invited by Lifeology SA along with a bunch of other celebs, bloggers and foodies.

The evening entailed preparing a 3 course meal and from prep to cooking to eating it was a blast.

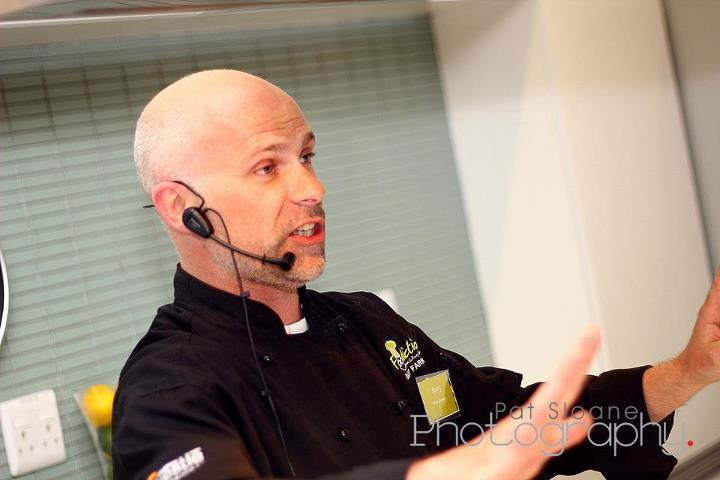
Chef Barry was fantastic, leading us through making the mouthwatering meal.

Chef

Im going to be making all the dishes we made over the next week or so and will blog them here.  I only hope they come out as well as they did last night.  Note: I made the fondant for dessert tonight but totally forgot to take pictures so I guess I will just have to make it again so I can blog it.  Its a yummy hard job but someone has to do it 😉

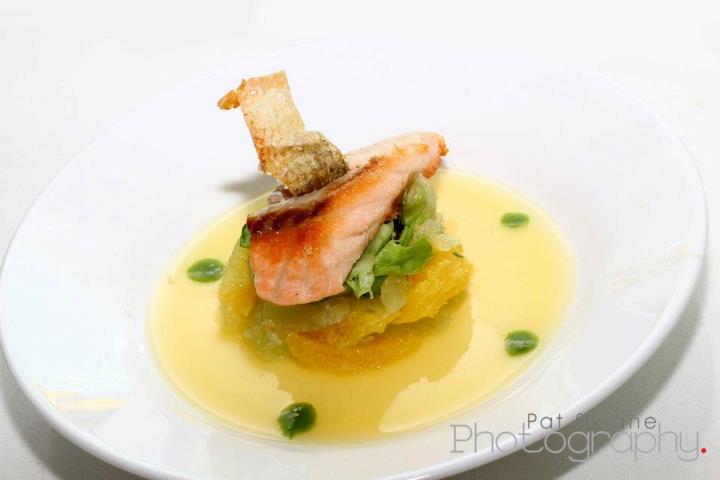
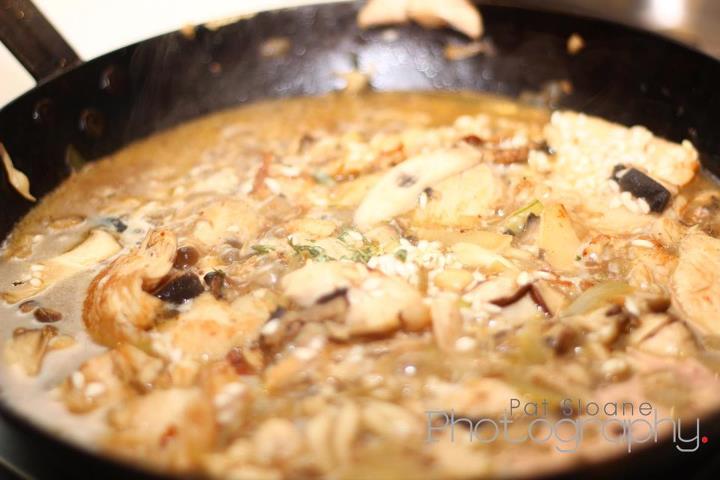
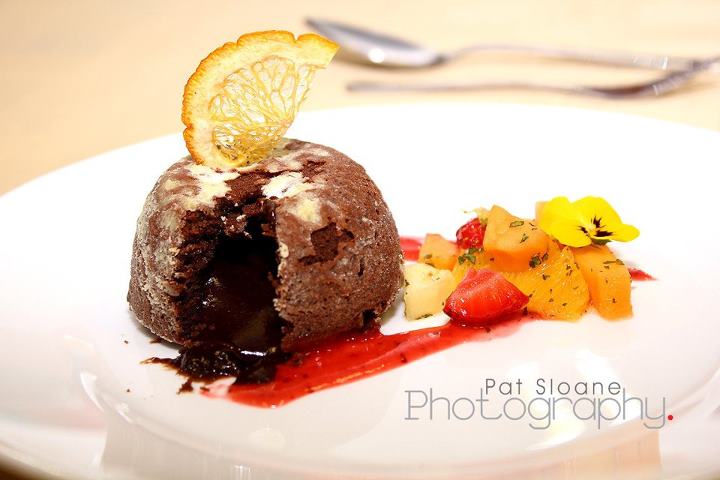
We made Salmon in Citrus Broth for starters, Chicken and Mushroom Risotto for the main course and a to die for Chocolate Fondant for dessert.  Needless to say I rolled home and slept on my back last night 😉

Foodiction is an awesome venue, catering (haha) to private functions tailor made to suit you as well as to group lessons and even kids cooking classes!  (I cannot wait to take Aaron for some lessons).

We had an amazing time and I certainly learnt a lot.  Also I managed not to chop off any fingers or stab anyone around me.  Bonus 😉

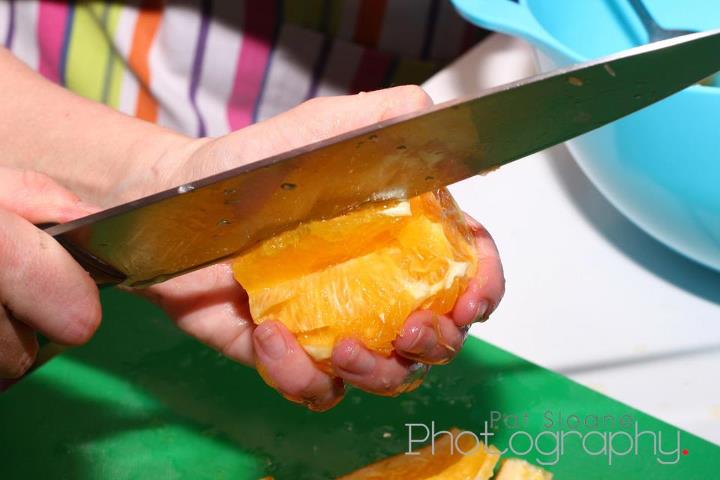
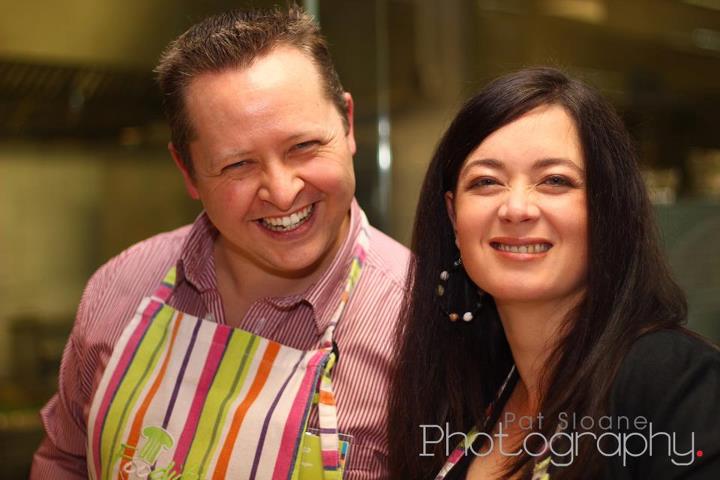
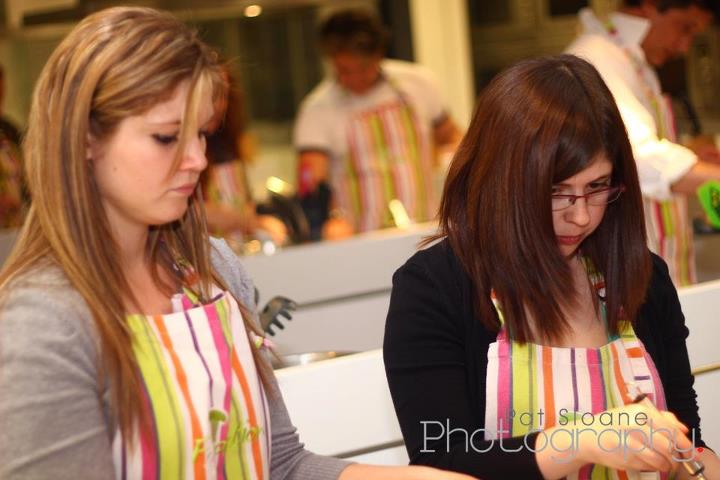
So, without further ado, here are some of the amazing photos taken by Pat Sloane (you can see the full FB gallery here).

Segmenting citrus for the citrus broth 


Olwagens

Jess

The gang!

Thank you to Jodene and Greg from Lifeology SA for inviting us to a fantastic evening of fun, food and laughter!

Contact Foodiction here.

Contact Lifeology SA here.

Banana Bread

Paul bought a bunch of bananas from Pick n Pay yesterday.  Problem was, half of them were over ripe and bruised.

So what else is one supposed to but make banana bread…

Ingredients

  • 3 or 4 ripe/over ripe bananas, mashed
  • 1/3 cup butter, melted
  • 1 cup sugar
  • 1 egg, beaten
  • 1 teaspoon vanilla (This was the last time I will use store bought vanilla, from now on I will be using my home made vanilla extract)
  • 1 teaspoon baking soda
  • Pinch salt
  • 1 ½ cups flour

Method

  • Pre-heat the oven to 180°C
  • Using a wooden spoon, mix together the mashed banana and melted butter.
  • Mix in the sugar, egg and vanilla.
  • Add the dry ingredients and fold into the wet ingredients.
  • Spray a loaf tin with Spray and Cook and spoon mixture into the tin.
  • Bake for about 1 hour.


Peanut butter icing

The amazing Tanya made what looks like amazing icing this weekend!

~~~

This weekend I was craving cake. But it had to be vanilla sponge cake and peanut butter icing.  I’ve never made peanut butter icing.  As luck would have it, I had a visit from a friend of mine, who is a pastry chef (check out her site which is soon to be updated: http://www.schweetemporium.co.za/) and she gave me a recipe for icing!

As for the cake… I discovered this box cake a few months ago and I am in love.  So easy (obviously) and so divine!  Just add water, oil and eggs!

So I made this delicious cake (it says to make a 2 layer cake, but I only have one springform tin, so I always just make one cake.)

Then, onto the icing… obviously my friend makes this in bulk, so she halved the recipe for me, and I still had WAY too much – but you can freeze it!! Which I did…

This is the recipe I used, But I may just halve it again when I need more… I had enough for 3 cakes.

INGREDIENTS:

  • 375g Wooden Spoon White Margarine (it is apparently important to use this brand)
  • 900g icing sugar
  • 2 eggs
  • Vanilla essence

… this is where her regular recipe ends – but as I wanted peanut better icing, she said to just add as much as I wanted until it tasted good. I ended using about

  • 1 cup smooth peanut butter.

METHOD:

  • With an electric mixer, blend chopped up butter, icing sugar and eggs. Blend, blend, blend for a long time, until light and fluffy and white.
  • Leave icing for 15-30 minutes.
  • Add peanut butter until you are happy with the taste… blending as you go along.

And that’s it!

My icing:

Once the cake (or cupcakes!) are cooled, ice as desired! My icing skills are non-existant and this doesn’t look like much – but my tummy loves it!

Eat and enjoy… this really hit the spot! This box cake is light and fluffy and moist and has such a deliciously delicate vanilla taste – I love it!

As for the frozen icing… according to my chef friend, you just microwave it for 10 seconds or so, until it is back to the normal consistency!

Blonde brownies

When I was a kid I went to a holiday cooking school.  We made the best recipes ever.  Easy, tasty and quick.

I kept an A4 book of all my recipes.  Somewhere along the line, between moving from one place to another I lost my recipe book.

I have never been able to reproduce the blonde brownies I made from that book.  Until now!

Ingredients

  • 2 ¼ cups flour
  • 2 ½ teaspoons baking powder
  • ½ teaspoon salt
  • 1 ¾ cups firmly packed brown sugar
  • ¾ cup butter or margerine
  • 3 eggs
  • 1 teaspoon vanilla extract
  • Semi sweet chocolate morsals (I dont add these, I think the brownies are good as is but if you want to make them a bit chocolaty this is the way to go)

Method

  • Preheat oven to 180°C
  • Spray and cook a swiss roll pan (I dont have a swiss roll pan so I use one of my roasting pans, sssshhhhh dont tell)
  • Combine flour, baking powder and salt.
  • In a separate bowl combine sugar and butter until creamy.
  • Add eggs and vanilla extract to the sugar and butter and beat until combines.
  • Add sugar mixture to the flour and fold together.
  • The mixture will now be somewhere between a cake mixture and a doughy cookie mixture.
  • Scrape the dough into your prepared pan and spread it out.  It doesnt have to be very thick but should be an even thickness throughout.
  • Bake for 20 – 25 min.


  • Leave to cool slightly and cut into squares or rectangles depending on how big you want the pieces.
  • Enjoy with a cup of tea 🙂


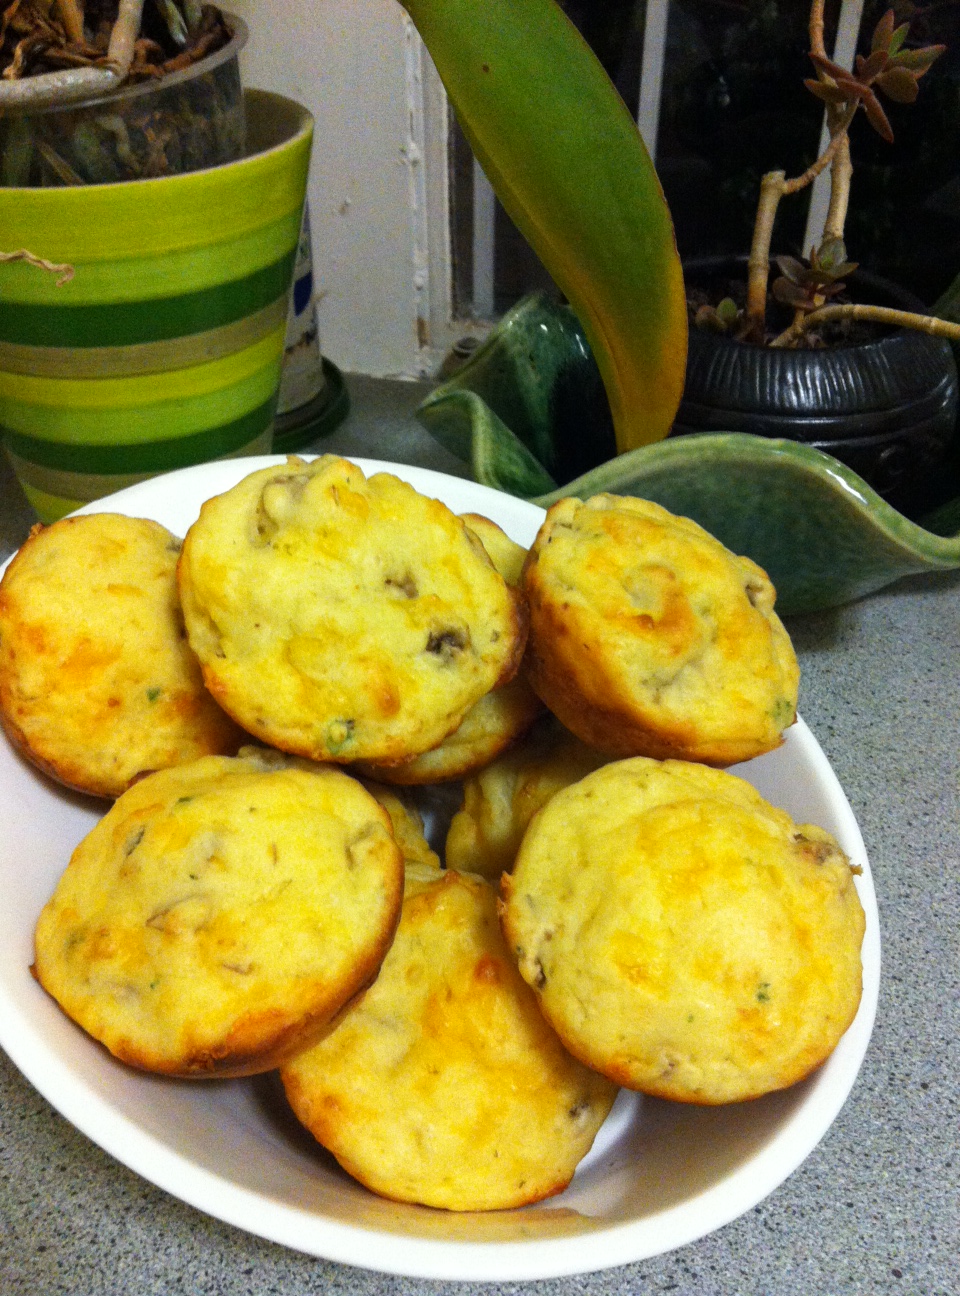
Potluck Savoury Muffins

Tanya once again sent me a too good to be true recipe. So good in fact that all of her muffins were eaten before she could take a photo.

So I decided that I couldnt post the recipe without giving you a photo and I whipped up a batch this evening.

When Tanya says that it takes 10 min to prep and 20 min to bake she wasnt lying.

Quick and yummy, my idea of good food!

Ingredients

  • 2 cups cake flour
  • 1 tbsp baking powder
  • Salt and pepper
  • Pinch of cayenne pepper
  • 200g red pepper (Tanya doesn’t eat peppers so she substituted for 200g ham, or bacon, a bit of onion or spring onion etc… the options are endless!)
  • 100g chopped mushrooms
  • 100g cheddar cheese
  • 1 tbsp chopped parsley
  • 2 whole eggs
  • 60ml vegetable oil
  • 350ml skim milk
  • Non-Stick Spray

Method

  • Preheat oven to 200°C
  • Sift together the dry ingredients.
  • Add in the mushrooms, spices, parsley and grated cheese.
  • Whisk together the wet ingredients and add to the dry ingredients.
  • Mix until just combined, the mixture should still look lumpy.
  • Spoon into a muffin tin that has been coated with non-stick spray and bake in a 200°C oven for 20 minutes.
  • Remove from oven, turn onto a wire rack to cool and serve.

They smelled so good that I had to take one straight out the oven, slice it open, slather it in butter and eat it up.  I burned my fingers adn my tongue but boy was it worth it!

Oh, Tanya said it makes 12, I managed to get 22 muffins but not all of them were the same size.  So be prepared to use 2 muffin trays.

The essence of vanilla

Today is World Baking Day.  I came across World Baking Day on Twitter and thought that I would participate 🙂

Unfortunately I am out of baking stuffs so I thought I would do something baking related.

Last December I saw a picture on Tania‘s blog of her home made vanilla essence.  A few weeks ago I came across a post on Pinterest about making home made vanilla essence/extract and voila an idea was born.

I decided to make some home made vanilla essence that I can give as gifts.

Ingredients

  • Vanilla pods
  • Vodka
  • Glass containers

I found the sweetest little glass bottles at the Consol store in Woodmead, 20 bottles cost me R25!

Method

  • Wash your bottles in warm soapy water and rinse well.
  • Slice your vanilla pods length wise and then slice each half length wise again.  The vanilla ‘caviar’ or seeds may come out of the pods when you cut them, just scrape them up with your knife and pop them in the bottles.

  • If your bottles are short then cut the pieces in half.
  • Place 2-3 pieces (depending on bottle size) of vanilla pod in each bottle.

  • Pour vodka into each bottle.  It would be ideal to use a funnel* but if, like me you dont have one then just pour really carefully and slowly.
  • Place the lid on the bottle and store the bottles at the back of a cupboard for 3-4 months before using them.

See how the colour has changed, thats after an hour or so, just imagine how rich it will be after a few months!

So, Im going to leave these in my pantry for a few months and then I will tie a pretty ribbon around the neck of the bottle and maybe a home made card and give them as gifts 🙂

*Ruby gave me the great idea of turning a piece of tin foil into a make shift funnel, great thing about this idea is that you can make the funnel as small or as large as you need 🙂

Note: All the photos in this post were taken by my amazing husband!