Peanut butter ice cream

I usually make ice cream in my churner but that requires some forethought and planning and since this was a last minute decision I went will a ‘no cook’ ice cream. 

image

Basic ice cream recipe with peanut butter
A simple 'no cook, no churn' dairy free ice cream
Write a review
Print
Prep Time
15 min
Cook Time
2 hr
Total Time
2 hr 15 min
Prep Time
15 min
Cook Time
2 hr
Total Time
2 hr 15 min
Ingredients
  1. 1 box dairy free cream
  2. 4 eggs separated
  3. Half cup caster sugar (I use sugar replacement to make it diabetic friendly)
  4. Splash of vanilla
  5. Any addition you like I.e.
  6. Peanut butter
  7. Crushed biscuits
  8. Fruit
  9. Chocolate
Instructions
  1. Whip egg whites until soft peaks form.
  2. Slowly add in sugar and blend gently.
  3. Add egg yolks and vanilla.
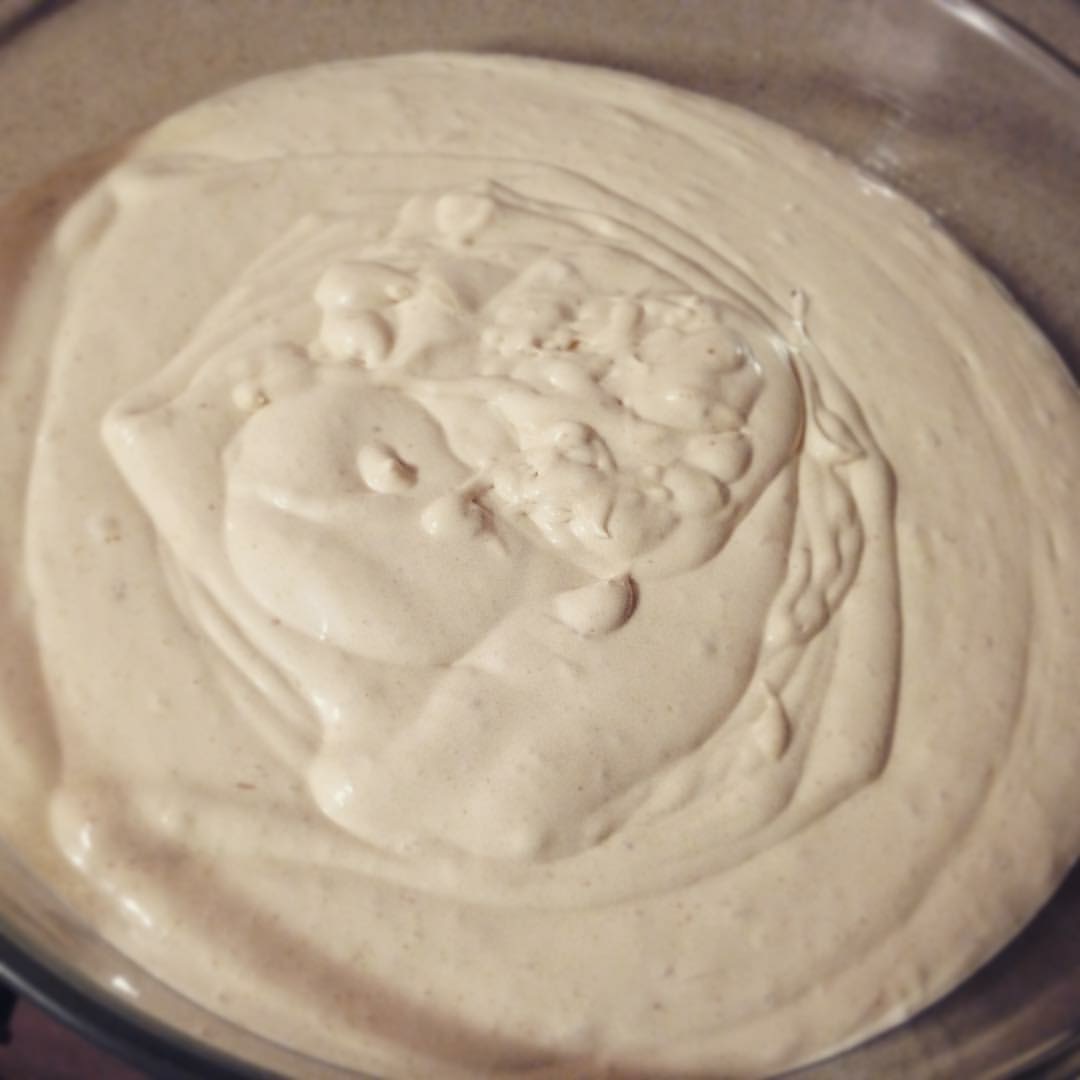
  4. In a separate bowl beat cream until about double in size.
  5. Combine both bowls together.
  6. Gently fold in your addition. I used about 3 tablespoons of sugar free smooth peanutbutter.
  7. Place in freezer proof dish, cover well and freeze for at least 2 hours.
A Bit of This A Bit of That https://gnatj.com/

Peanut Butter, Nutella, Choc Chip, Fudge!

Ok, once you have stopped drooling over the title of this post, take a look at the recipe below!

I found the original over here.

Ingredients

  • 1 large egg
  • 3/4 cup Nutella – I used the Pick n Pay Hazelnut Chocolate Spread (Its the closest one to Nutella I have ever tasted and its about a third of the price)

choc spread


  • 1/4 cup creamy peanut butter
  • 1/2 cup dark brown sugar, packed (I used light brown sugar)
  • 1 tablespoon vanilla extract (I used my home made extract)
  • 1/2 cup all-purpose flour
  • 1 teaspoon baking soda
  • pinch salt, optional and to taste
  • 170 grams dark chocolate, chopped (I used about half a box of dark chocolate chips)

Method

  • Using a hand beater (or stand mixer) combine the egg, Nutella, peanut butter, brown sugar, vanilla and beat to cream ingredients for about 5 minutes. 
  • Add the flour, baking soda and salt.
  • Mix until combined.
  • Add the chocolate chips and using a wooden spoon mic until just combined.
  • Scoop out batter roughly the diameter of a R5 coin and using your hands squeeze into balls. They will be very oily!
  • Place on a sprayed baking tray.  About 5cm apart or about 6/8 balls per tray.
  • Place your trays in the fridge for no less than 2 hours.
  • Once chilled, set you oven to 180°C and bake each tray for 10 minutes.

iphone pics 116

Enjoy with a cup of coffee or a glass of cold milk!

Peanut butter icing

The amazing Tanya made what looks like amazing icing this weekend!

~~~

This weekend I was craving cake. But it had to be vanilla sponge cake and peanut butter icing.  I’ve never made peanut butter icing.  As luck would have it, I had a visit from a friend of mine, who is a pastry chef (check out her site which is soon to be updated: http://www.schweetemporium.co.za/) and she gave me a recipe for icing!

As for the cake… I discovered this box cake a few months ago and I am in love.  So easy (obviously) and so divine!  Just add water, oil and eggs!

So I made this delicious cake (it says to make a 2 layer cake, but I only have one springform tin, so I always just make one cake.)

Then, onto the icing… obviously my friend makes this in bulk, so she halved the recipe for me, and I still had WAY too much – but you can freeze it!! Which I did…

This is the recipe I used, But I may just halve it again when I need more… I had enough for 3 cakes.

INGREDIENTS:

  • 375g Wooden Spoon White Margarine (it is apparently important to use this brand)
  • 900g icing sugar
  • 2 eggs
  • Vanilla essence

… this is where her regular recipe ends – but as I wanted peanut better icing, she said to just add as much as I wanted until it tasted good. I ended using about

  • 1 cup smooth peanut butter.

METHOD:

  • With an electric mixer, blend chopped up butter, icing sugar and eggs. Blend, blend, blend for a long time, until light and fluffy and white.
  • Leave icing for 15-30 minutes.
  • Add peanut butter until you are happy with the taste… blending as you go along.

And that’s it!

My icing:

Once the cake (or cupcakes!) are cooled, ice as desired! My icing skills are non-existant and this doesn’t look like much – but my tummy loves it!

Eat and enjoy… this really hit the spot! This box cake is light and fluffy and moist and has such a deliciously delicate vanilla taste – I love it!

As for the frozen icing… according to my chef friend, you just microwave it for 10 seconds or so, until it is back to the normal consistency!

Chocolate covered peanut butter balls

I have a weakness for the chocolate covered peanut butter balls from Moo-z Bros.

I also have no money at the moment because UIF are pusswanks!

What I do have are the ingredients to make peanut butter balls…

I googled recipes and found this one on the Rice Krispies site.

Of course I didnt really stick to it 100% but I think they came out pretty well.

Here is my recipe (I once again forgot to take pics of the process…)

Ingredients

  •  1 cup ( I used half a jar) smooth peanut butter (they use crunchy but smooth works well)
  • ¼ cup marge
  • 1 cup icing sugar
  • 2 cups rice krispies
  • 1 ½ cups semi sweet chocolate morsels (I used 1 85gms bar of bitter sweet chocolate, I should have used 2)
  • 2 tablespoons vegetable shortening/Holsum (thanks @Saaleha) ( I didnt have any so I used margerine)
  • 54 mini paper cups (I used 2 baking trays covered with wax paper)

Method

  • Beat peanut butter, marge and sugar with an electric beater until well mixed.  I used a fork and elbow grease as I didnt want to wake the kids up, next time I will use an electric beater!
  • Add rice krispies, mixing well.  At this point I want to say that I would have crushed the rice krispies a bit before adding them in but I think if you use the electric beaters it might just crush them for you as you mix, I will definitely try this next time.
  • Taking a teaspoon scoop up a small dollop of the mixture and shape into a ball, they then say to place the ball into the paper cup, I just plopped them onto the wax paper baking trays.
  • Refrigerate.
  • Melt chocolate and shortening in microwave or on double boiler.
  • Spoon one teaspoon of chocolate mixture over each ball.  My mixture was a bit thick, perhaps with shortening it would have been thinner, and it didnt pour very easily.  Also, if you dont use the paper cups I would suggest dipping the balls into the chocolate to coat them (which I didnt do).
  • Refrigerate until firm.
  • Store in an airtight container in the fridge.

All in all they came out quite well.  I cant stop stuffing my face!

I would definitely prefer the krispies to be a little finer and less ‘lumpy’ in the mixture and I will either use the paper cups or dip the whole ball into chocolate next time.  I will also be getting some Holsum as I think the texture will be better for the chocolate.